
Enabling Customer Portal Filters for Classes
Customer Portal filters help customers quickly find classes based on specific categories. By creating a tag and enabling it as a customer portal filter, you can improve the browsing experience and make it easier for customers to discover relevant classes.
How to Enable a Customer Portal Filter
To create and enable a customer portal filter for classes:
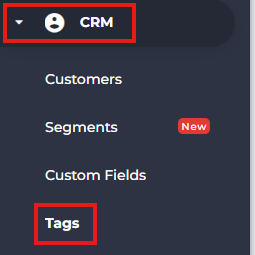
- Navigate to CRM from the side menu.
- Select Tags.
- Click Add Tag.

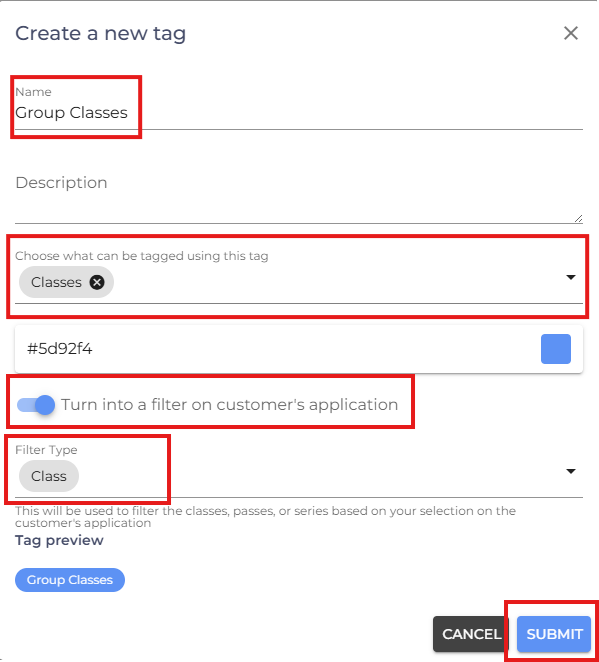
- Enter a Tag Name.
- Under Choose what can be tagged using this tag, select Classes.
- Enable the Turn into a filter on Customer Application option.
- Under Filter Type, select Class.
- Click Submit to create the tag.
Assigning the Filter to a Class
Once the filter has been created, assign it to a class by following these steps:
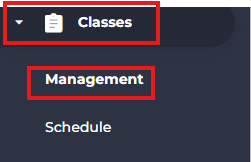
- Navigate to Classes.
- Select Management.
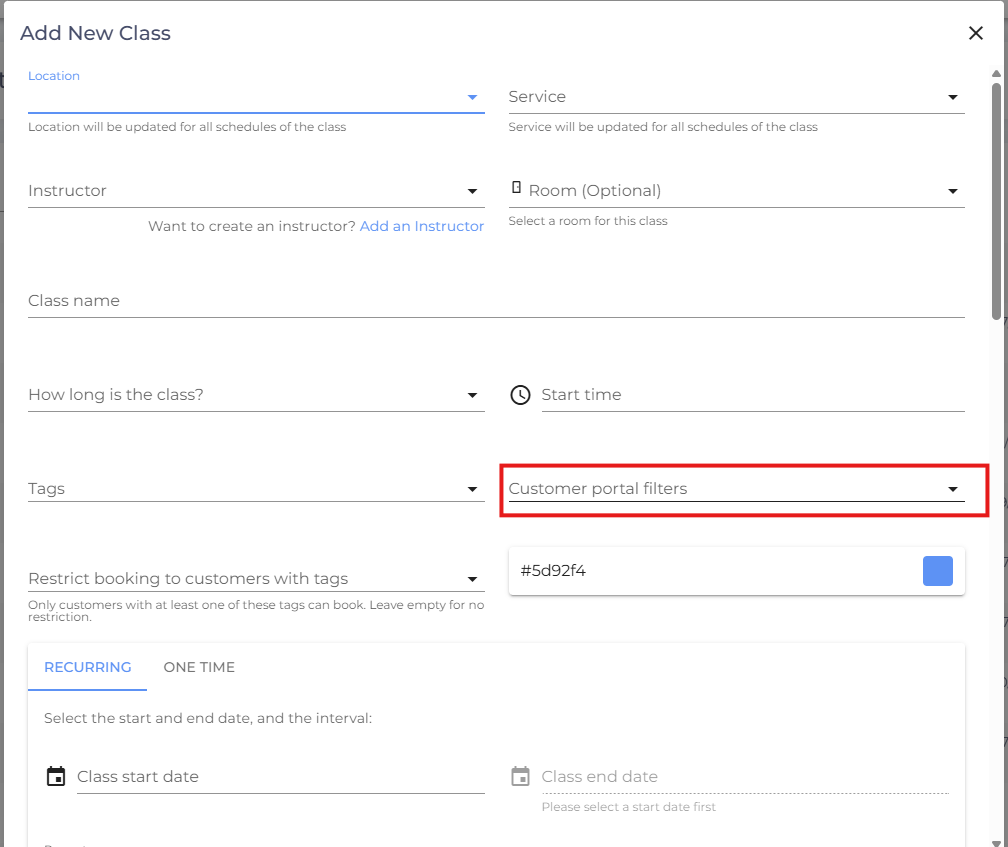
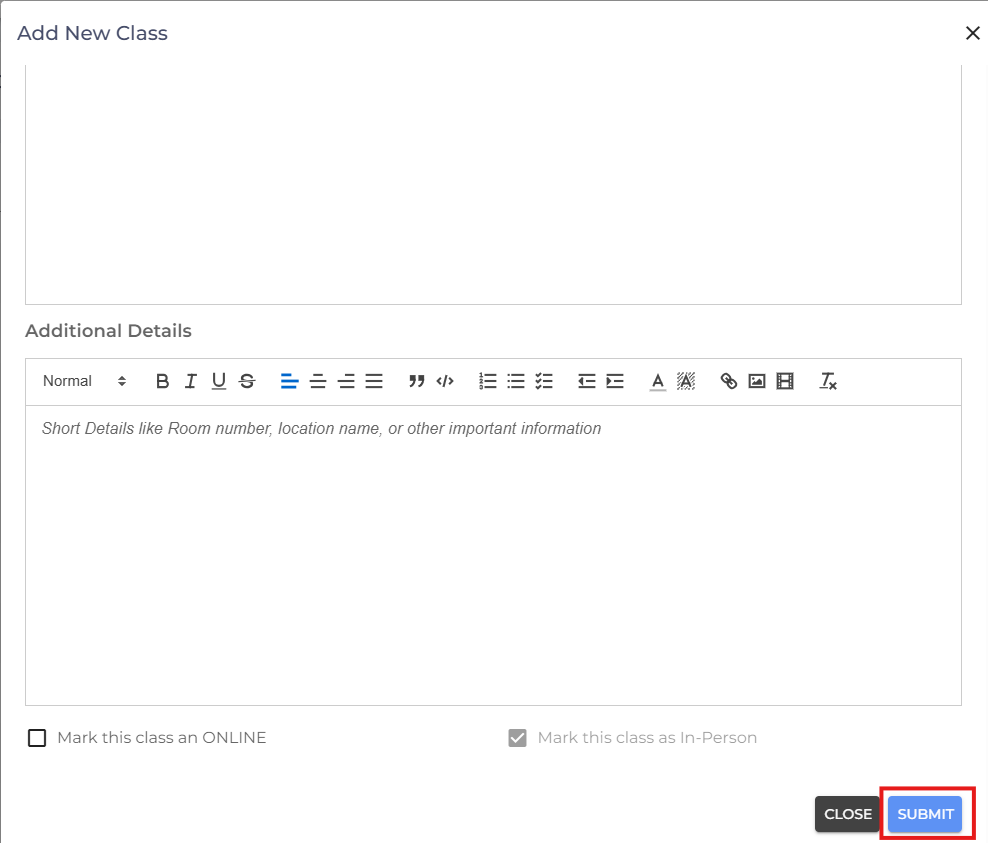
- Click Add New Class.

- In the Customer Portal Filters section.
- Select the filter you created.
- Enter the required details.
- Scroll down and click Submit.
The assigned filter will now be available in the Customer Portal, allowing customers to easily filter and discover relevant classes.
- If you are facing any difficulties, get in touch with us via help.studiogrowth.com and we'll help you to get up and running in no time.